
For anyone new to coding, robotics, STEAM or Innovation, Scratch is an ideal starting point. It’s a programming language designed for children, but it’s so much more and can be used by anyone wanting to undertake a STEAM + AI project. I’ve included a number of more sophisticated Scratch programs that I created as demonstrations for a code club.
There’s lots of training material and information on Scratch on the Raspberry Pi Foundation website.
For an introduction into Scratch try :
https://projects.raspberrypi.org/en/technology/scratch
For an introduction to physical computing and robotics try:
https://projects.raspberrypi.org/en/technology/physical_computing
For an introduction to AI try:
https://projects.raspberrypi.org/en/technology/ai_and_data
For more advanced AI try:
https://machinelearningforkids.co.uk/
For Music try:
https://projects.raspberrypi.org/en/interests/music
To control Lego robotics such as WeDo, Boost or EV3 use a standard Scratch Extension
To control a Microbit use a standard Scratch Extension.
To create more interesting animations create your own Background and Spites using AI Image Generators. Its easy to add your own backgrounds, sprites and sounds.
More advanced robotics or integration can be achieved by running Scratch on a Raspberry Pi and setting GPIO pins. By attaching these pins to a MicroBit (using 330 ohm resistors to limit current ) you can control the MicroBit which can in turn control a robot. By also creating imaginative backgrounds and sprites, and possibly music, you can create amazing STEAM projects.
For anyone wanting to use Scratch with a wider range of single board computer, microprocessors or robotics then a Scratch alternative such as MakeBlock or Mind+ can be used.
I’ve included a few of the more complicated Scratch programs that can be found on this site to illustrate the power of Scratch in education.
Scratch – STEAM, AI, Art and Robotics
This first program was used to control a paint pouring robot. The image, in the corner, evolves as the robot mixes paint. A simple Lego EV3 robot is controlled by the Scratch program. It both pours the paint and mixes it.
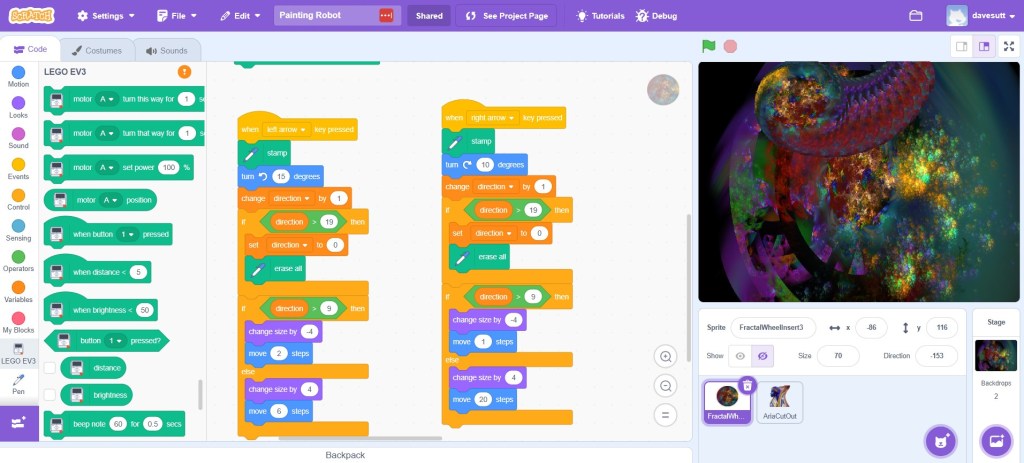
https://scratch.mit.edu/projects/834168644
The image below is from a Scratch Animation demonstration program, that runs for around ten minutes, and uses all of the standard Scratch functions. It is based on images of Street Art photographed in Wellington. I used it at our local Code Club.
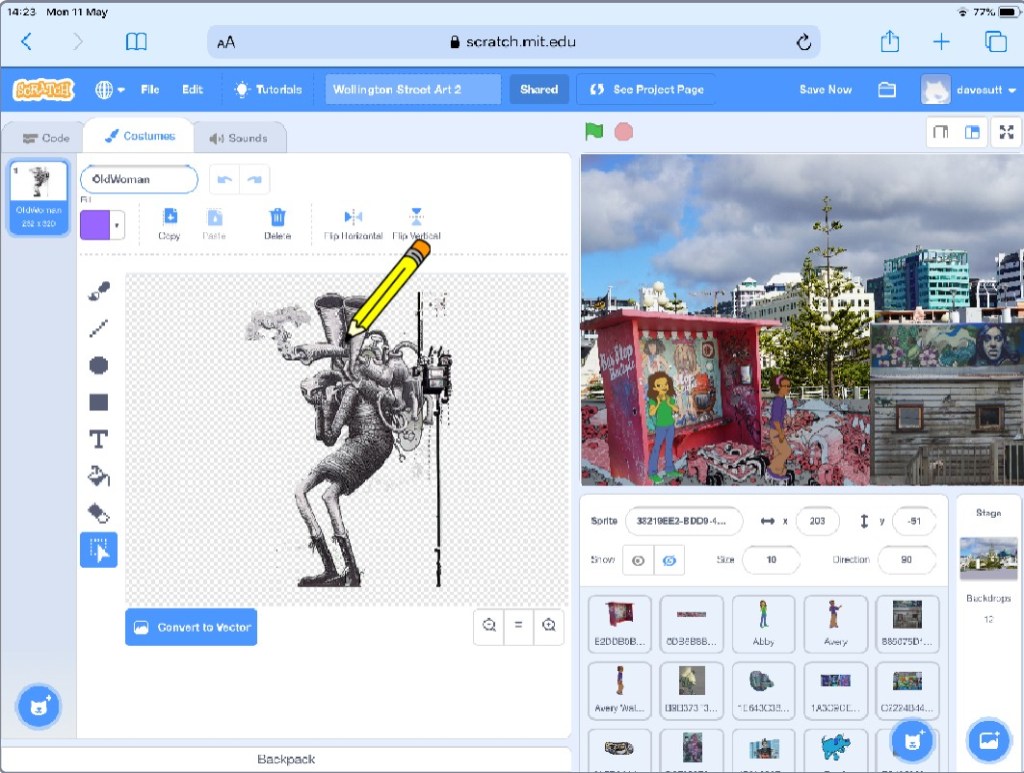
https://scratch.mit.edu/projects/392782532
One of the images in the animation was later used to create the image below.

The Scratch program below runs on a Raspberry Pi. The Raspberry Pi is connected to an environmental monitor which reads a persons breath. Their breath changes the colours of random patterns as they evolve.
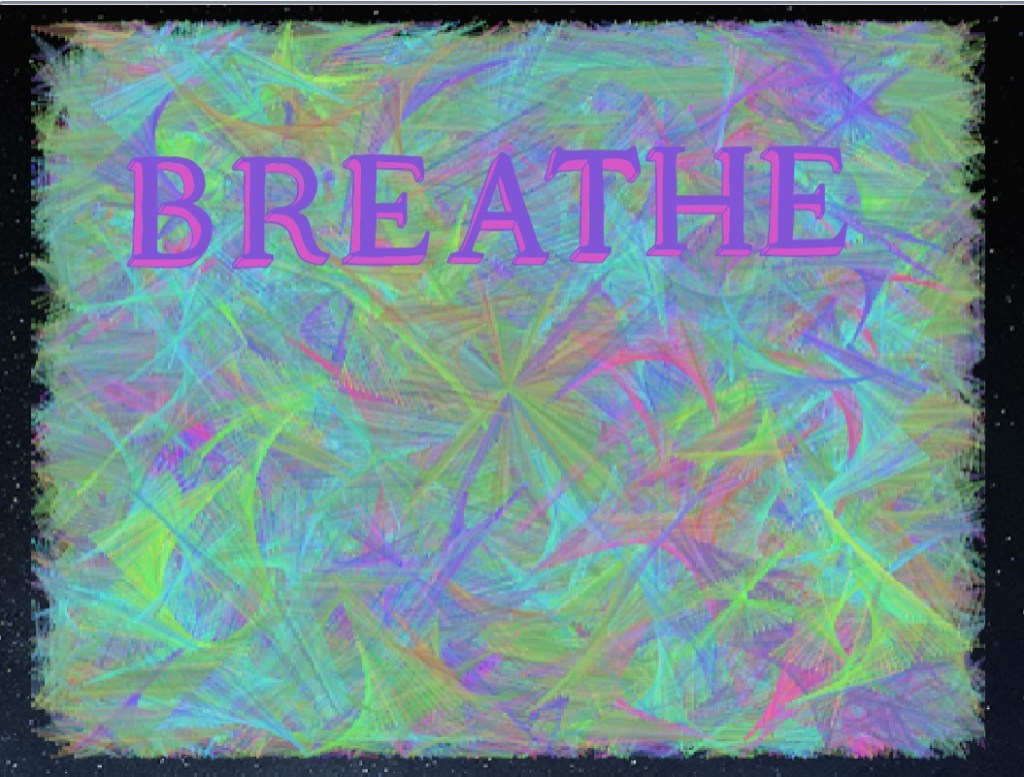
https://scratch.mit.edu/projects/472032237
The design and coding behind “Breathe”, plus the image created by the paint pouring robot were later included in the design of the image below.

The two images below show a Scratch program that produces spirograph images. The program was later rewritten using P5.js. One of these images was used, along with photoshop elements and AI, to create the third image below. Scratch is ideal for prototyping and as a testing ground for programs that will later be rewritten in python or Processing/P5.js.
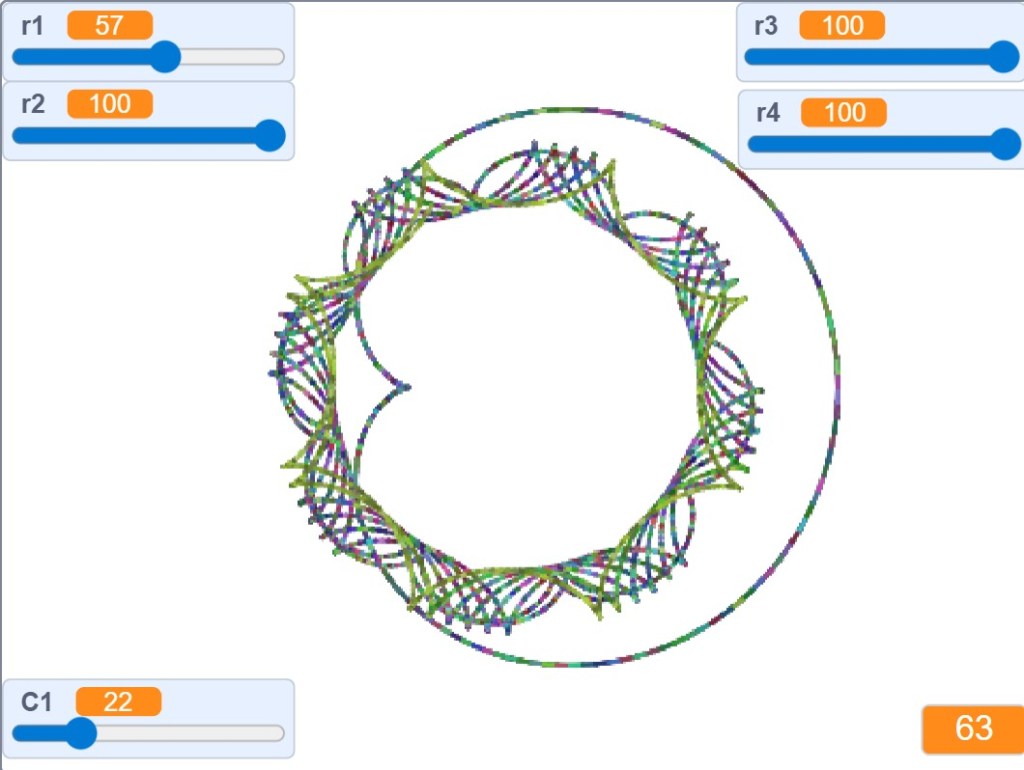
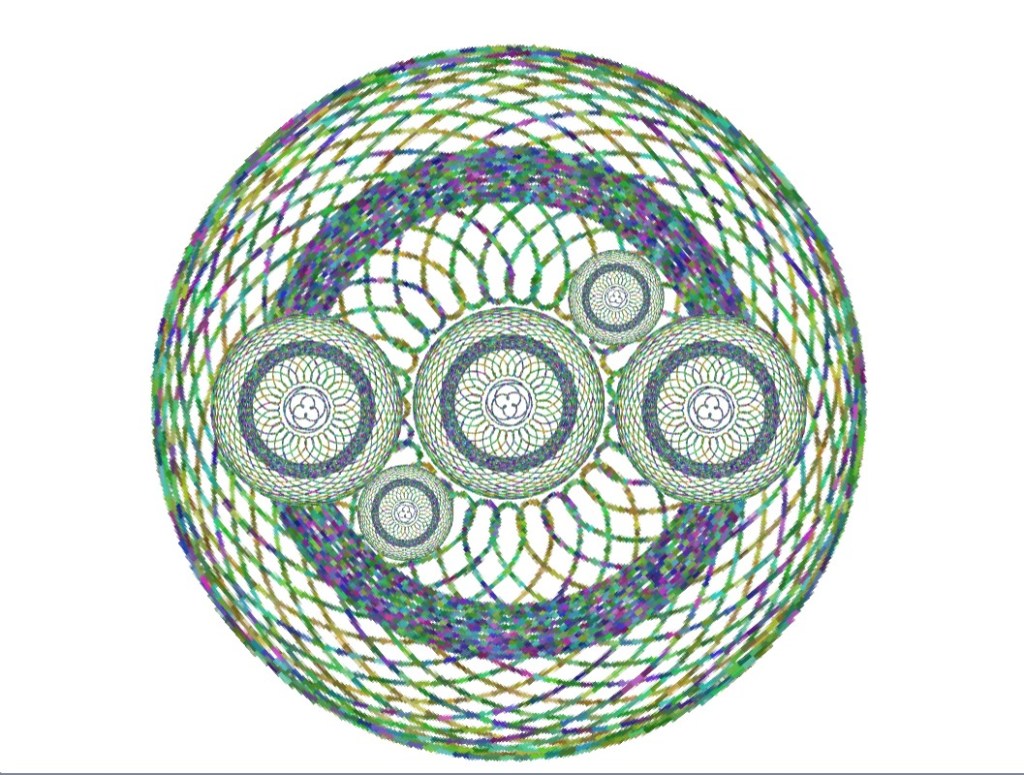
https://scratch.mit.edu/projects/411113047

The image below is from a more complicated Scratch project I designed for an article on the Pi Top 4.
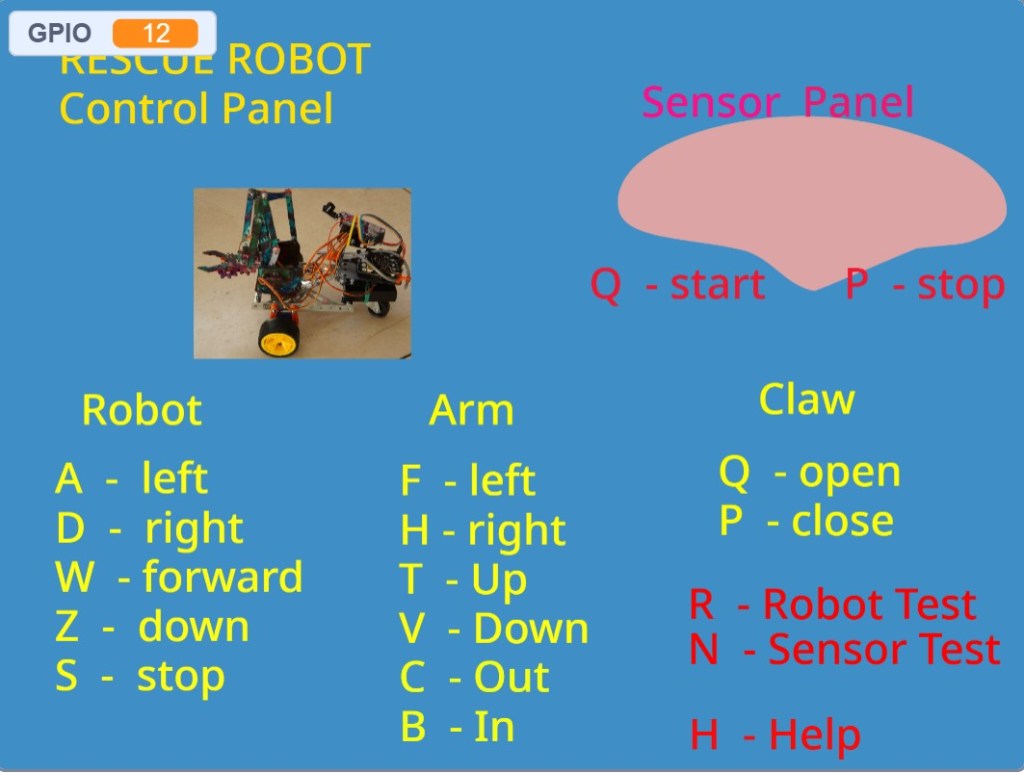
Scratch-Powered Earthquake Response Simulation
This project showcases a classroom-ready demonstration using Scratch to simulate robotic support for disaster victims in earthquake zones. Designed to run on a Pi Top 4 (a Raspberry Pi 4 housed in an advanced enclosure), the system integrates visual storytelling, robotics control, and real-time data display.
At its core, Scratch handles both the interface and communication logic. The robot—equipped with a MicroBit—is programmed to respond to Scratch messages, controlling its movement and robotic arm to simulate aid delivery and terrain navigation. As the robot monitors conditions in the simulated earthquake zone, it sends sensor data back to Scratch, which then displays updates on-screen.
The setup is modular and scalable:
- The Pi Top 4 can be replaced with a standard Raspberry Pi
- A second MicroBit manages communication between the Raspberry Pi and the robot
- The system can be enhanced with AI Vision by integrating a HuskyLens, enabling object recognition and environmental awareness
This project not only demonstrates technical integration but also encourages students to think innovatively about how robotics and AI can support humanitarian efforts. It’s an example of STEAM + AI in action—where storytelling, coding, and real-world relevance converge. The image shows the display screen. The robot is controlled by a MicroBit, which controls its motion and movement of a the robot arm based on messages received from Scratch. The robot monitors the earthquake zones and send messages back to Scratch, which displays them on its display screen. The project could be extended to add AI Vision by adding a Husky Lens. The Pi Top 4 could be replaced by a standard Raspberry Pi. Note: An additional MicroBit is connected to the Raspberry Pi using GPIO pins and manages communications with the robot.
The project could be simplified by using a Lego Robot such as an EV3, WeDo or Boost, which are easier to control than a home made MicroBit robot.
The image below of “Rock, Paper, Scissors” is from an AI project. it is covered in detail under Projects. Rock, Paper, Scissors

I’ve designed a more complex STEAM project to illustrate the power of Scratch and the potential for using it as a key component of STEAM + AI projects. I’ve also created lesson plans using Copilot and Magic School to illustrate the strengths of each. There’s also a link to much simpler project for younger children. Scratch Lesson Plans.
