
This project combines Art, Scratch Animation, AI Story, Robotics and Environmental Monitoring. It is designed both for beginners and those more experienced.
The sentinel of Emberwood – An Art and Technology Project
The Sentinel of Emberwood
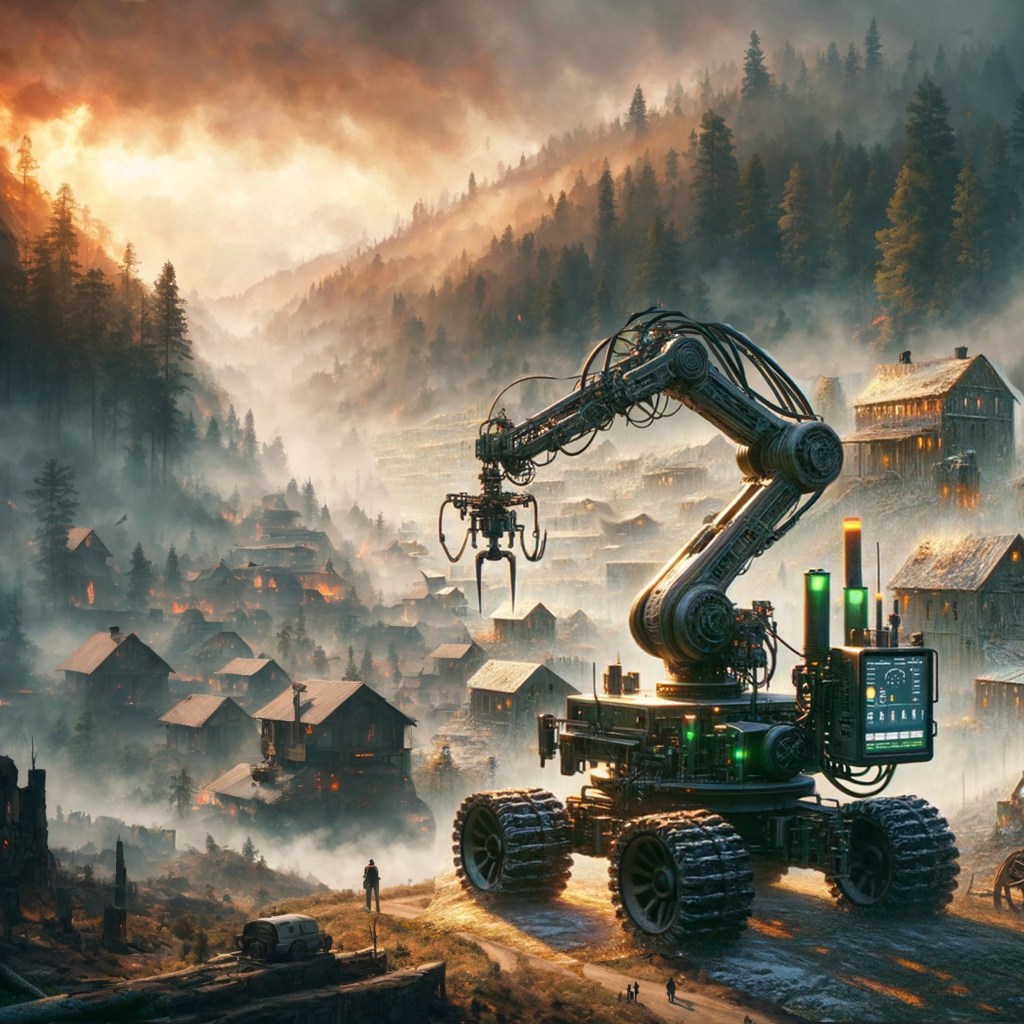
In the heart of Emberwood National Forest, flames danced like vengeful spirits. The once-verdant canopy now crackled and burned, casting an eerie glow over the scorched earth. The small town of Haven’s Edge stood on the forest’s edge, its wooden structures vulnerable to the inferno.
But hope arrived in the form of the EmberGuard, a colossal robotic vehicle designed for disaster response. Its massive treads churned the ground as it rolled toward the flames, its metal hull reflecting the orange glow. Engineers had equipped it with an array of tools: a titanium-reinforced arm, capable of lifting fallen trees and debris; thermal imaging cameras to detect hidden hotspots; and air quality sensors to monitor toxic fumes.
Captain Maya Rodriguez, a seasoned firefighter, piloted the EmberGuard. Her hands gripped the control levers, and her heart raced as she guided the machine deeper into the inferno. The heat was relentless, threatening to melt even the EmberGuard’s fire-resistant plating.
“Maya,” crackled a voice over the intercom. It was Dr. Elias Grant, the lead scientist behind the project. “Your mission is twofold: protect Haven’s Edge and gather data on the fire’s behaviour.”
Maya adjusted her helmet, her visor displaying real-time data. The robotic arm extended, its claw-like fingers gripping a fallen tree. With a heave, the EmberGuard tossed the obstacle aside, clearing a path for the evacuation convoy.
As the fire raged, Maya monitored the air quality. Toxic gases hung thick in the smoke, threatening both humans and wildlife. She adjusted the EmberGuard’s filtration system, ensuring clean air for the town’s residents. The sensors also detected pockets of intense heat, guiding her away from danger zones.
But the true test came when the flames encroached upon Haven’s Edge. The EmberGuard positioned itself between the town and the inferno, its arm flinging burning branches away. The townspeople watched in awe as their metallic guardian fought back the firestorm.
“Captain Rodriguez,” Dr. Grant’s voice crackled again. “We need data on fire behaviour. Get closer.”
Maya hesitated. The heat was unbearable, and the EmberGuard’s paint blistered. But duty called. She manoeuvred the vehicle toward the epicentre of the blaze. The thermal cameras revealed the fire’s chaotic dance—how it leaped from tree to tree, devouring everything in its path.
As the EmberGuard stood amidst the flames, Maya felt a strange kinship with the machine. Both were forged to protect, to endure. She whispered a silent prayer for Haven’s Edge and pushed forward.
The robotic arm extended, its clawed fingers reaching into the heart of the fire. It collected samples—burnt bark, ash, and swirling embers. Maya knew this data would help scientists understand fire behaviour, perhaps preventing future disasters.
Hours passed. The EmberGuard battled fatigue, its circuits straining. But it held its ground, shielding Haven’s Edge until the firefighters gained control. When the last ember flickered out, townspeople cheered, their gratitude echoing through the smoky air.
As the sun rose, Maya stepped out of the EmberGuard’s cockpit, her face streaked with soot. Dr. Grant approached, eyes gleaming.
“Captain Rodriguez,” he said, “you’ve saved lives and advanced our understanding of wildfires. The EmberGuard is more than a machine—it’s a guardian.”
Maya nodded, wiping sweat from her brow. “And Haven’s Edge? Is it safe?”
Dr. Grant smiled. “Thanks to you, it stands strong.”
And so, in the aftermath of Emberwood’s wrath, the EmberGuard became a legend—a metallic hero etched into the town’s history. Its robotic arm, once scorched, now bore the marks of valour. And Captain Maya Rodriguez? She knew that sometimes, heroes wore steel instead of capes, and their courage blazed hotter than any fire.
And thus, the Sentinel of Emberwood stood vigilant, ready to rise from the ashes whenever danger threatened.
Art and Technology Project
Components:
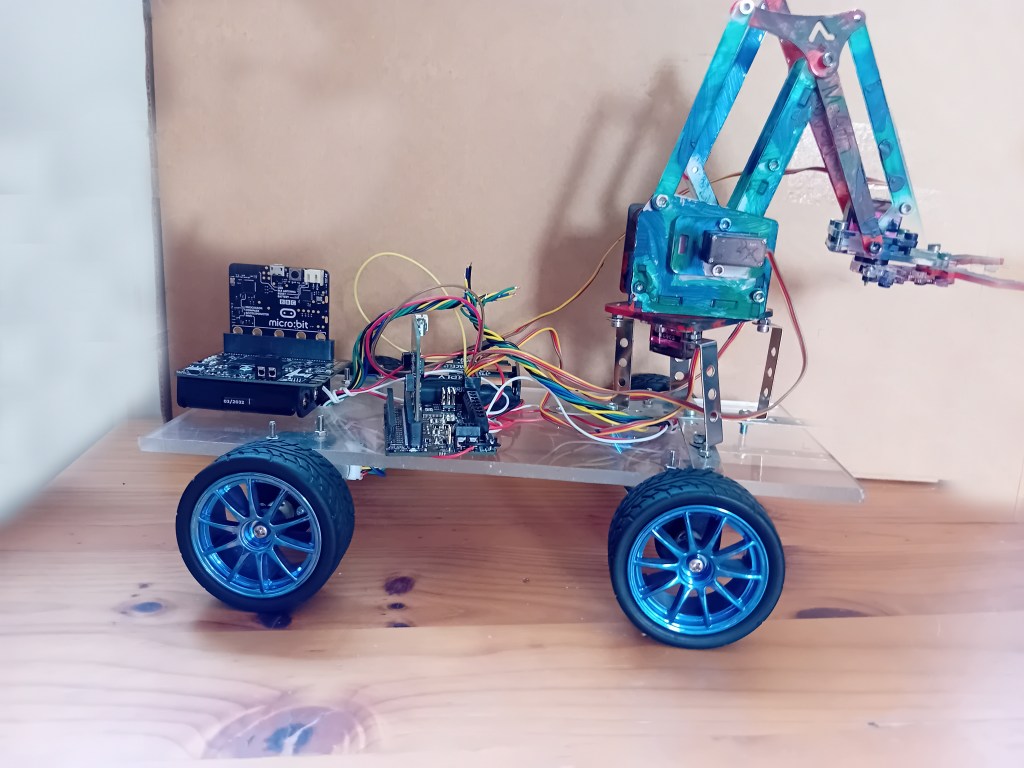
MicroBit with Kitronik’s Robot Controller
Microbit with Kitronik’s Air Quality Board
MeArm, Robot Arm (painted)
Home made robot chassis, with 4 six volt motors (with encoders for future use)
Alternative suggestion for beginners: A Kitronik’s Move Robot.
Alternative for experts: Use an Arduino WiFi board with Arduino Cloud, Arduino Servo and Motor Controller, Processing (rather than Scratch)
This project is predominantly a robotics project but, in line with our other projects, it is focused on Art and Technology Innovation. It can be undertaken by anyone from beginner through to expert. It is designed so that you can decide on the level you want to work at.
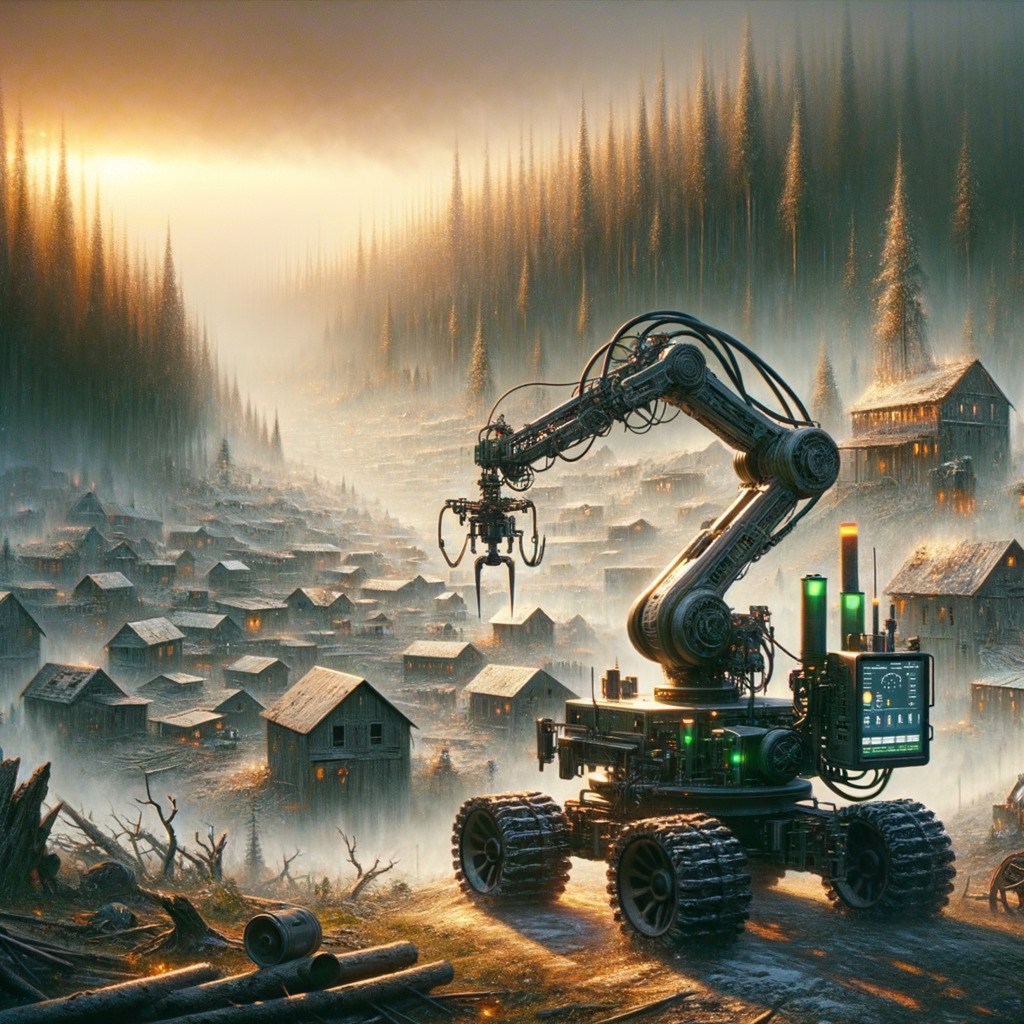
1. Use AI to recreate the image of the robot and waste land. I used a number of Deepdream, AI generated images, that I merged using Photoshop Elements. However, you can use AI to create a general impression or create something more creative.
2. Use AI to create a story around the image. I used Microsoft Copilot.
3. Create a Scratch animation. In its simplest form it can just be one image that gradually transforms into another. The easiest method is to use the final image as a “sprite” and use “ghost” effect, starting at 100 and gradually decreasing. You can use my images. For experts you can do something far more elaborate. You could also use some of my other images, found below.
4. Program the Innovation Centre robot or create your own design. I’ve used Microbits, a Kitronik Robot Controller and a Kitronik Air Quality board. The Robot Controller is simple to use but the Air Quality Board is a little more complicated. At the Innovation centre we will be using both for beginners. There is plenty of documentation on the Kitronik site. There are MakeCode extensions for both.
For anyone trying this at home you will need a Robot. We recommend the Kitronik Move Robot as it is simple to use, there’s lots of interesting features and add-ons, and there is plenty of good documentation. You can ignore the Air Quality Sensor.
For anyone with the Kitronik Air Quality board, program it to display a few environmental air quality measurements on the dis[play screen when it receives a message from the Robot Control Board or Move Robot.
5. The aim is to display an initial image in Scratch and start the robot moving towards a target. When it reaches the target the Scratch image will have transformed to the target image. A message will then be sent from the Robot Control Board to the Air Quality Board to read and display the air quality. Advanced users should capture a range of readings and transfer these onto a spreadsheet (As covered in the Kitronik’s documentation).
6. This project doesn’t fully integrate Scratch with the robot. As they are coordinated by timing events (using a “Wait” in Scratch. Full integration can be achieved but another Microbit will be required and a different Block Editor such as Mind+.
Additional Images


Appendix
Innovation and Creativity
The innovation and creativity content comes from combining Art, Creative Writing, Coding, Scratch Animation, Environmental Monitoring and Robotics.
The process of developing a project or modifying one requires a broad understanding of the different elements, rather than in depth knowledge of one or two.
The process is different on every project. On this one:
1. First I considered the constraints. Only items, apps and tools that I had readily available would be used. As this was for beginners, I decided to use a MicroBit where possible, and Block based coding.
2. I then considered the overall design elements. I wanted to build a Robot, produce artwork and a story line, do a very simple animation using Scratch and use computer code. I also wanted to use a new environmental monitor.
3. Next I considered the design of the robot and how all the other elements, including the storyline would come together.
4. Design, build and program the robot.
5. Produce the artwork.
6. The story was the next element, although I had an outline in mind from the very beginning.
7. Scratch was next. I wanted to keep it very simple but focus on one interesting function. I chose the “ghost” function.
8. The environmental monitor was an integral part from the beginning, however I left the coding to the end.
9. Finally I ran everything in combination and collected environmental data. I used MakeCode to input the data and copied in into a spreadsheet. The timing of Scratch and the robotics was manual, with Scratch time delays adjusted by trial and error.
Not everything would be completed by beginners, however we have a completed demonstration project.
Addition Learning and key information
1. I used MicroBits, however Arduinos and Raspberry Pis are also commonly used for this type of robotics project.
2. Although the above computers can be used for programming and have GPIO pins that will connect to servos and motors, they should never be used as they can’t supply the current required. Always use a separate control board.
3. Motors can move forwards or backwards depending on the flow of the current (the way the wires are connected). Motor control boards enable you to change the direction and the speed.
4. Servos can move a specified number of degrees e.g. 180 degrees. Continuous servos work like motors but are controlled differently. Servo boards are used to control them.
5. Robotics boards and most motor boards control both motors and servos.
6. Boards that use I2C connections from the computer are best as they free up the other GPIO ports and allow the computer to run other tasks in parallel.
7. It is important that the current used by a servo or motor isn’t greater than the board can provide. When a motor stalls, and can’t move, it uses far more current than when running normally.
8. The voltage of the motor should match the voltage provided to the board.
9. When using a block of batteries (AA). The voltage is generally 1.5 volts per battery and 1.2 to 1.5 volts for rechargeable batteries. Four AA batteries works fine for a small 6 volt motor or servo.
Alternatives – Raspberry Pi
We have focused on the use of a MicroBit for building robots and have mentioned the use of Arduinos for those who are more advanced. The Raspberry Pi can also be used. However, many current Raspberry Pi robot builds use the Pico, which is a micro processor. Most other Pis, that people are more familiar with, are single board computers with GPIO pins.
There are robot boards for traditional Raspberry Pis but the introduction of the new Raspberry Pi 5, with the ability to add an AI processor, will open the door to more advanced Robotics projects that use AI.
The Pi also runs Scratch off-line. This enable Raspberry Pi extensions to be used that access GPIO pins or Pi boards. Accessing pins helps when undertaking robotics projects or linking to single board computers such as the MicroBit or Arduinos. You can also run online Scratch and MakeCode apps on a Pi. I find running Scratch on a Pi, that has physical links to a MicroBit GPIO pins, very useful for complex robotics projects.
The Pi Top 4 (which uses a Pi 4) has a robot kit. This is very well built and comes with educational resources. I have a Pi Top 4 but not the robotics kit. The design and educational resources are excellent, however I haven’t found the robotics kit available separately.
Alternatives – MakeBlock 5
We’ve used Scratch for the simple animation. However, I’ve also mentioned using Mind+ , from a Chinese site, to enable Scratch integration with MicroBits. Another Chinese company that makes robots and has its own version of Scratch is MakeBlock. It’s Scratch alternative is MakeBlock 5. Although the robots work well and Scratch is comprehensive and well integrated with their robots, some of the site is in Chinese but if you can work around this it works well. Like Mind+ it acts like a combination of Scratch and MakeCode. So if using their robots its OK but if you want to use a wider range of robotics components then you may be better it stick with Scratch and MakeCode.
